Diesel heater servicing
Our “Diesel and gas heater” article describes the fundermental difference between gas and diesel heaters …. diesel heaters need to be routinely serviced, and gas heaters need nothing. So this article is for the brave souls who made the conscious decision against a lifetime of maintenance free bliss from a gas heater, and are now looking for some info on saving the significant service agent fees by maybe having a go at servicing their diesel heaters themselves.
Your in luck because its not a very difficult job for anyone relatively handy using basic tools, which will include 2 x Torx driver bits. Firstly have a cursory look over the attached Eberspacher schematic to familiarise yourself with the heater and its parts before you read on
[gview file=”http://www.frasergroup.org/getinyabox/wp-content/uploads/2018/10/Heater-air-Eberspacher-D2-D4.pdf”]
Preventitive maintenance is always a better than reactive maintenance but for most of us diesel heater owners the catalyst for the service is likely to be the appearance of white smoke pouring out of the heaters exhaust and through the neighbours camp, and around their angry face. The extent at which the white smoke will ooze from the heater exhaust can be quite disturbing the first time you witness it because there will be more smoke than the Sunbury Music Festival
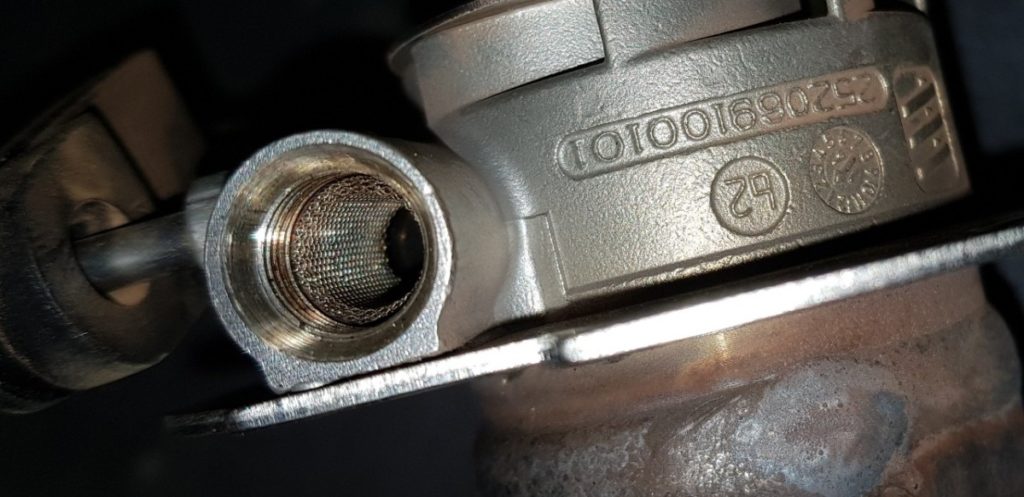
During the start up phase the fuel requires an ignition source, which comes in the form of the thin 25mm long glow plug which is inserted inside the 20mm tube like metal mesh plug screen. The mesh screen is heated up by the glow plug and atomises the fuel which competes the fuel ignition until the heater can sustain the burn independant of the glow plug, at which point the temperature sensor will shut of the glow plug.
Carbon can build up in and around the glow plug journal, and particularly on the plug screen which is a typical cause of white smoke at unit start up. Continued high burn temperatures will keep the carbon from building up, but typical fluctuating running temperatures will over time cause carbon build up.
If white smoke appears only during the 30 seconds or so of unit start up its very likely due to carbon build up around the screen and glow plug journal. Cleaning or replacing the screen or journal will often solve the white smoke that appears at start up.
These pictures show views of some of the processes and parts that you’ll encounter during the service (the pics were taken with the heater completely removed, which is not required for a plug screen clean)
With the glow plug removed, the plug screen sits in place inside the journal. The port into the burn chamber is at the bottom of the journal on the right side
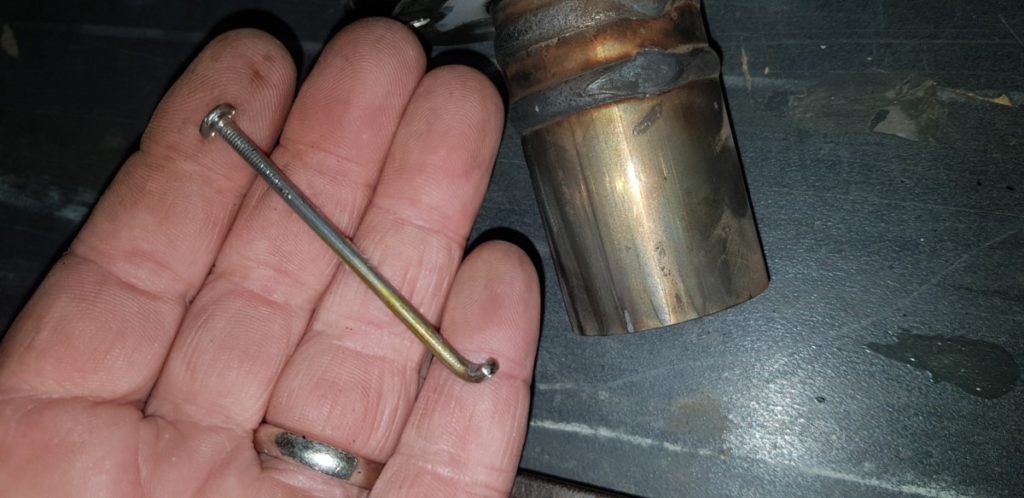
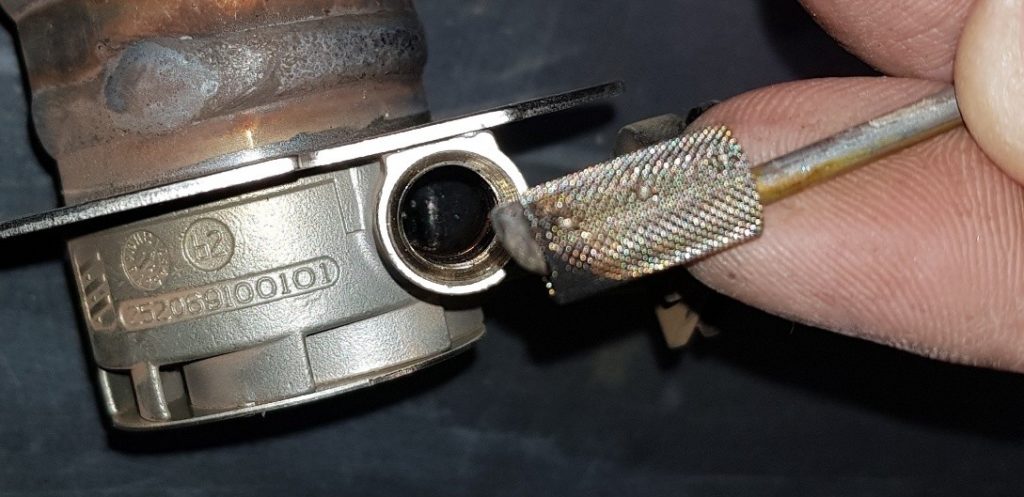
My 4 inch framing nail bent and ground into a hook to hook under the plug screen and coax it out. Left too long and the screen will put up a fair fight, so dont be shy.
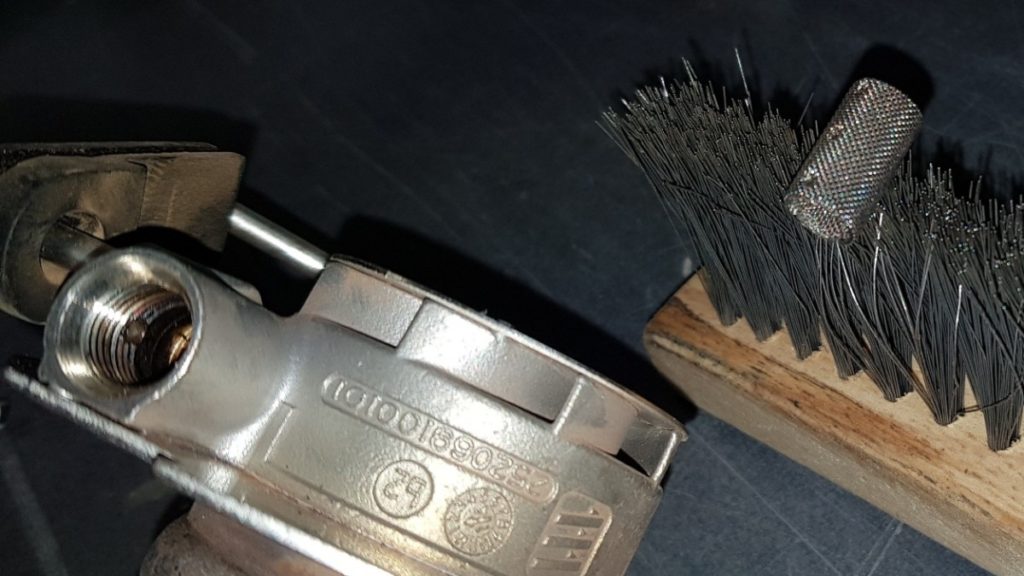
The plug screen removed on the nail with significant carbon on the lower portion of the mesh where the port into the burn chamber is located at the base of the glow plug journal. This is the reason for my smoking. Its possible that the plug screen may be damaged during removal particularly if its well past due for a service. Its wise to have a replacement plug screen in the tool box; you may not need the replacement screen on this ocassion but youll need it eventually. I cleaned the carbon from the plug journal with a Dremel brush, but a rifle bore brush would be equally as good
I was lucky enough to be able to remove the plug screen cleanily and undamaged. My luck continued because I could clean off all of the plug screen carbon with a wire brush, and reinstalled the same screen which is good for another season or 2. Had I lucked out, I would have just replaced the plug screen.
The video goes through the process of finding, accessing and removing the glow plug and glow plug screen whilst the heater is still mounted in the caravan.
When removing the glow plug take particular note of the tension of it as you loosen it during the removal process. The heater unit produces no compression whatsoever so the tensions between all the mating surfaces are not all that high. Dont over do the tensions during reassembly
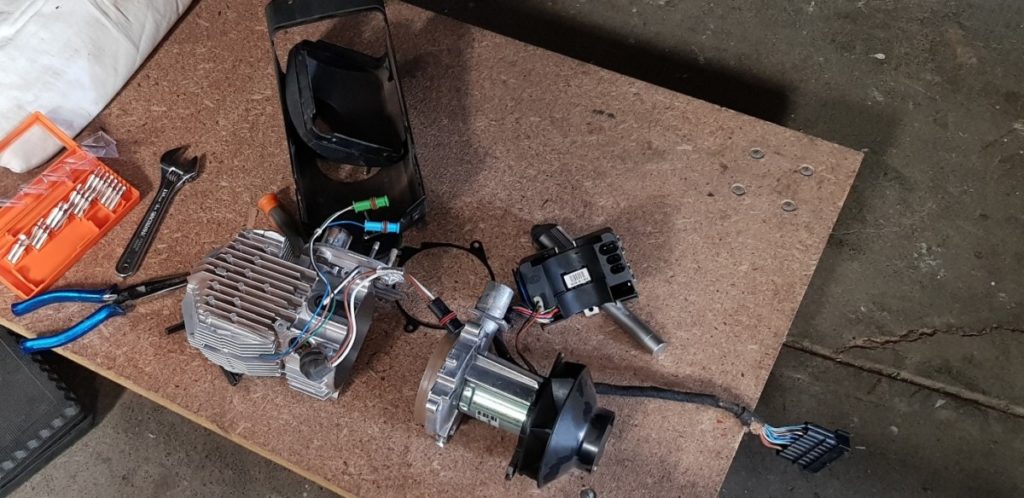
Moving past the minor service and clean is the removal of the heater unit from the van and complete disassembly of the unit on a work area. These pictures show a better view of some of the processes and parts that you’ll encounter removing the heater unit from the van and pulling it apart. Again take particular notice of all the fixing torques as each screw is removed.
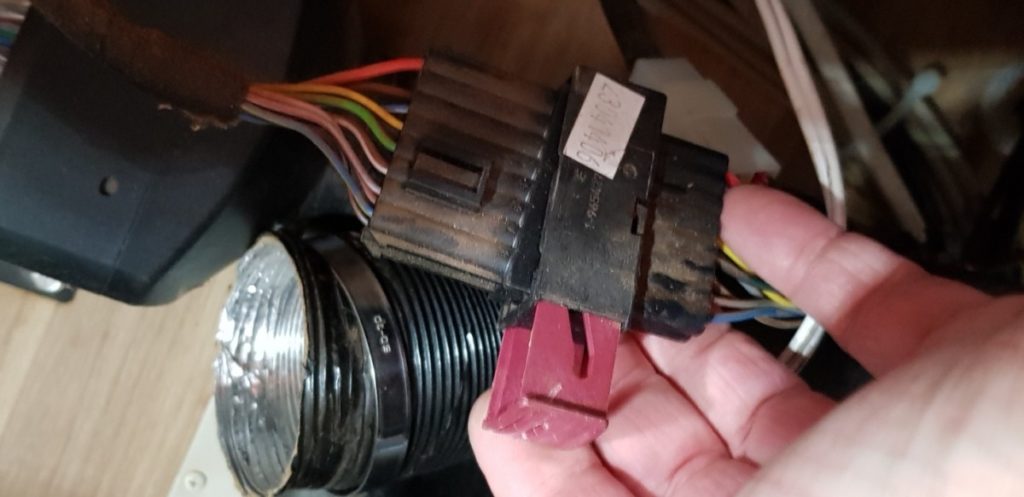
There is only one loom that needs to be disconnected to remove the heater unit. The brown slide needs to be pulled out to disconnect the loom. Remove the ducting pipe from the heater air outlet, and then move under the van.
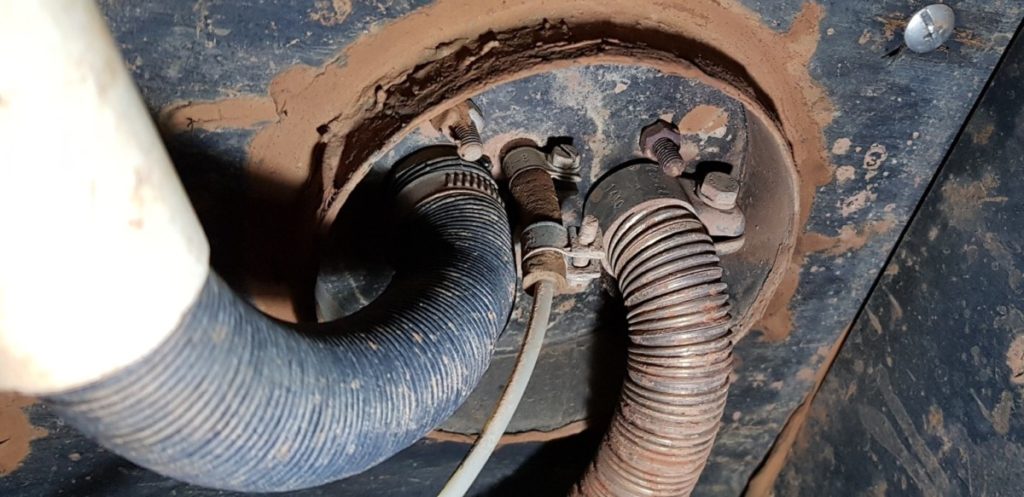
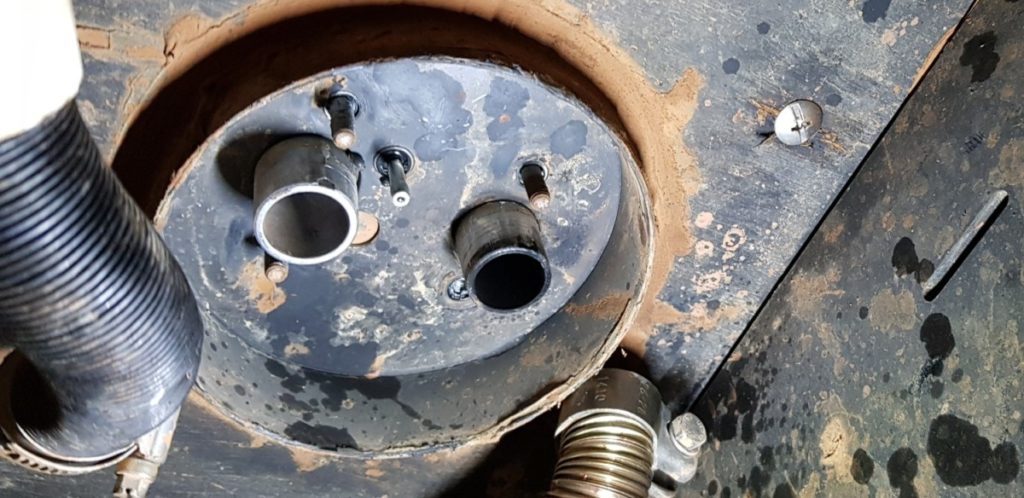
Under the floor, the black air intake, metal exhaust, and fuel line need to be disconnected. They can be left hanging in the air, just be mindful of dust entering the fuel line. The heater itself is fixed by the 4 x nutted studs through the base plate and once they are undone the heater will lift straight out from above
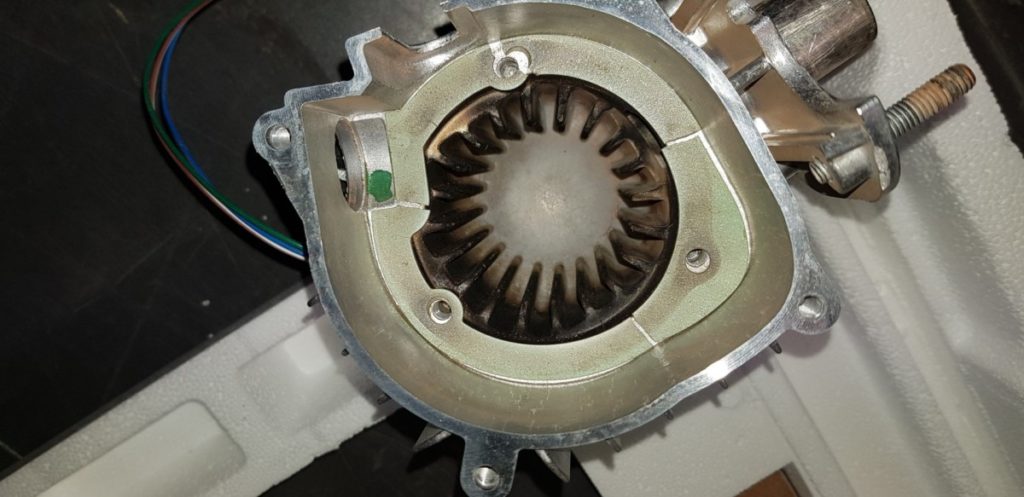
There are two gaskets inside the heater unit which you would need to have on hand prior to tackling the job. The first youll encoutner is the black one in the picture below between the fan assembly on the right and the combustion chamber on the left. This is quite a robust gasket, isnt effect by the operating heat of the combustion chamber so with a bit of care is recoverable and reusable
With the burn chamber removed from the heat exhanger youll see the condition of the gasket; typically it will be cracked from the high operating heat, and in my case it’s cracked in five places and no longer viable. You will most definately require a replacement gasket each and every time you crack open the burn chamber, no exceptions.
This gasket is what keeps fumes going outside via the exhaust and from entering back behind the flange into the fan area and ultimately into the van. The constant high operating temperature of the burn chamber and heat exchanger will weaken the gasket and for safety reasons should never be reused.
Eberspacher replacement gaskets are around $20, and on this particular service pull down I opted to try a Warmda brand 3rd party gasket for $8.00. Ill add a update on that in due course.
When disassembling the heater again take particular note of the tensions of each of the threads you crack during the process. The unit produces no compression whatsoever so the tensions between all the mating surfaces are not all that high. Dont over do the torques during reassembly
The below video describes the disconnection of the heater, removal of the heater unit from the caravan and the dismanteling of the heater for a more thorough inspection, parts replacement or repair. A 3rd video below is a comprehensive and very well explained American video of the same process. Between the two video I think most bases are pretty well covered.
